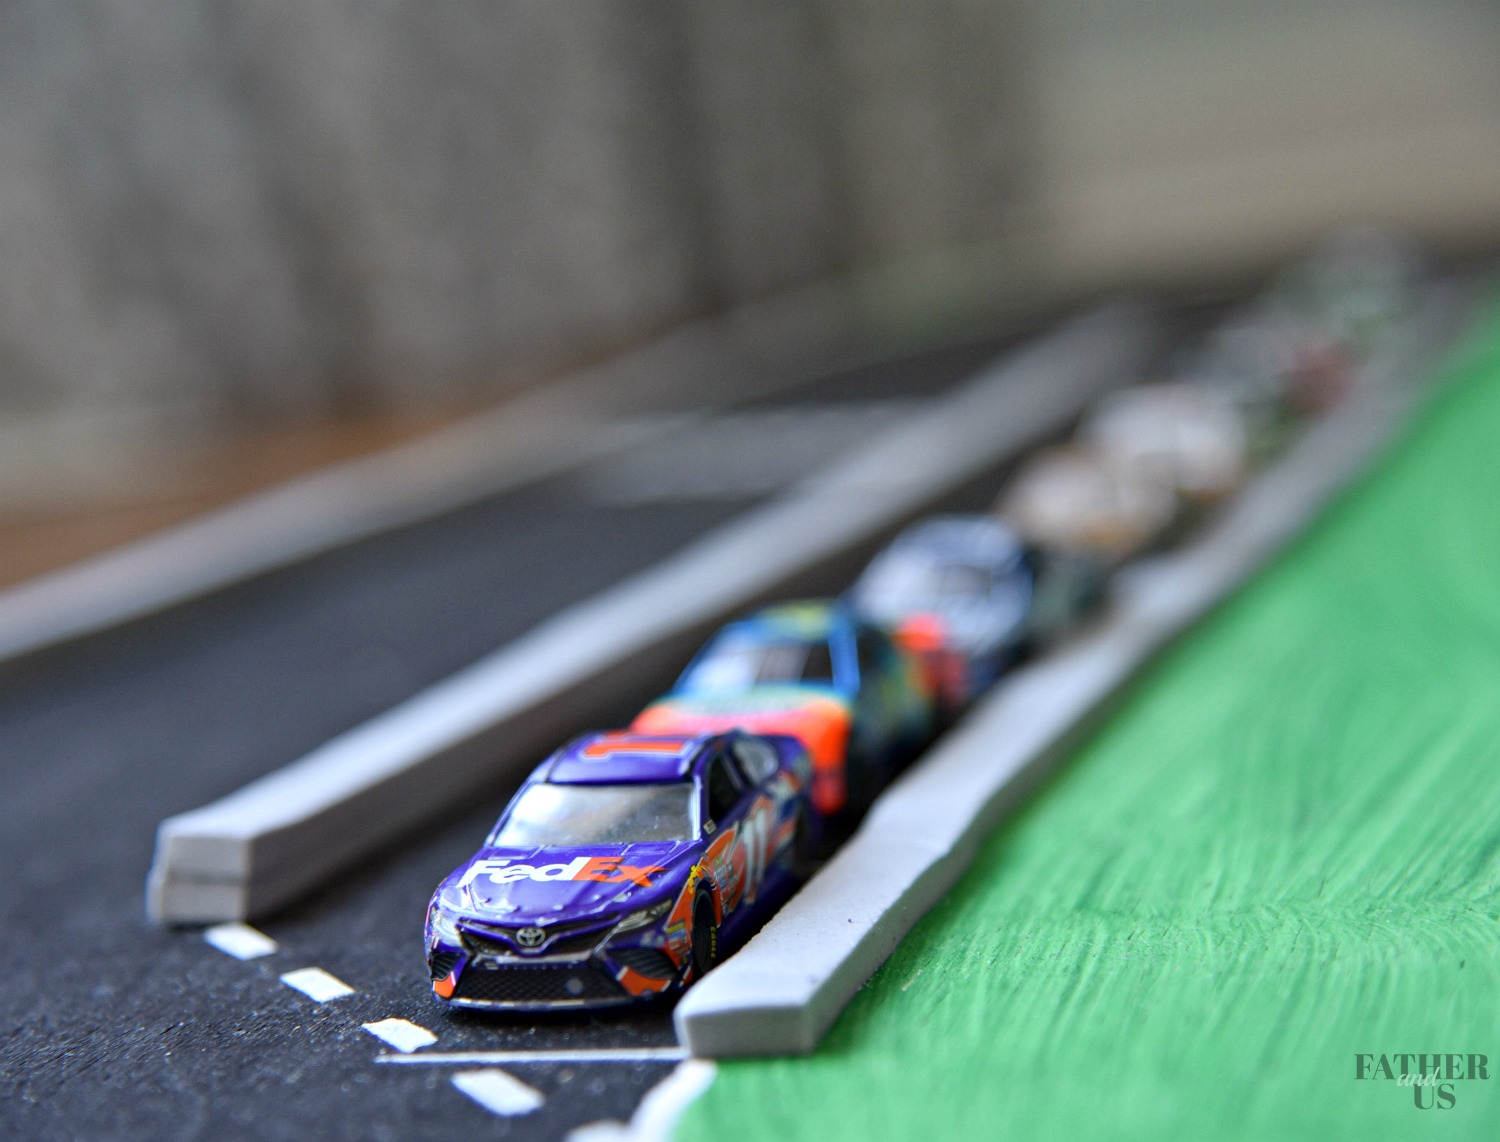
How to Make a Race Track for Hot Wheels Cars
Just like any normal 8-year-old, my sons interests swing wildly around to different things. I can never quite catch up. He is notoriously tough to buy Christmas gifts for because we do our holiday shopping in early December, but by the 25th, he is into something completely different. One thing that he has consistently loved is Hot Wheels race cars. He loves to have mock races with them. After watching him try to improvise race tracks on his bedroom floor for so long, we finally decided it was time for us to make a proper race track! So, here was our process of how to make a race track for Hot Wheels cars.
We began our journey trying to make it out of cardboard. My wife is a blogger and we get a TON of packages in the mail and never have a shortage of boxes laying around. I thought I might as well put them to use, right? My original plan was to cut out colored paper and glue it on the cardboard to get our racetrack looking the way it wanted to. This was a bad idea.
Not only was it very time consuming to cut out the paper exactly how it needed to be cut out, once I glued it down, it wouldn’t stay where it was supposed to. With the cardboard being flimsy, every time we moved it, the paper would get wrinkled and the glue would be compromised. It didn’t take us long to decide that we needed to just dive in and do this for real. So, we headed to the home improvement store.
Our first goal was to find a good piece of wood to use as our base. I wanted something strong and sturdy so we wouldn’t have the problem we had with cardboard. But I didn’t want anything too think or heavy. We found a pre-cut piece of particle board that was 1/4 inch thick. 2 feet wide and 2 feet long. It didn’t way much at all and was the perfect dimensions.
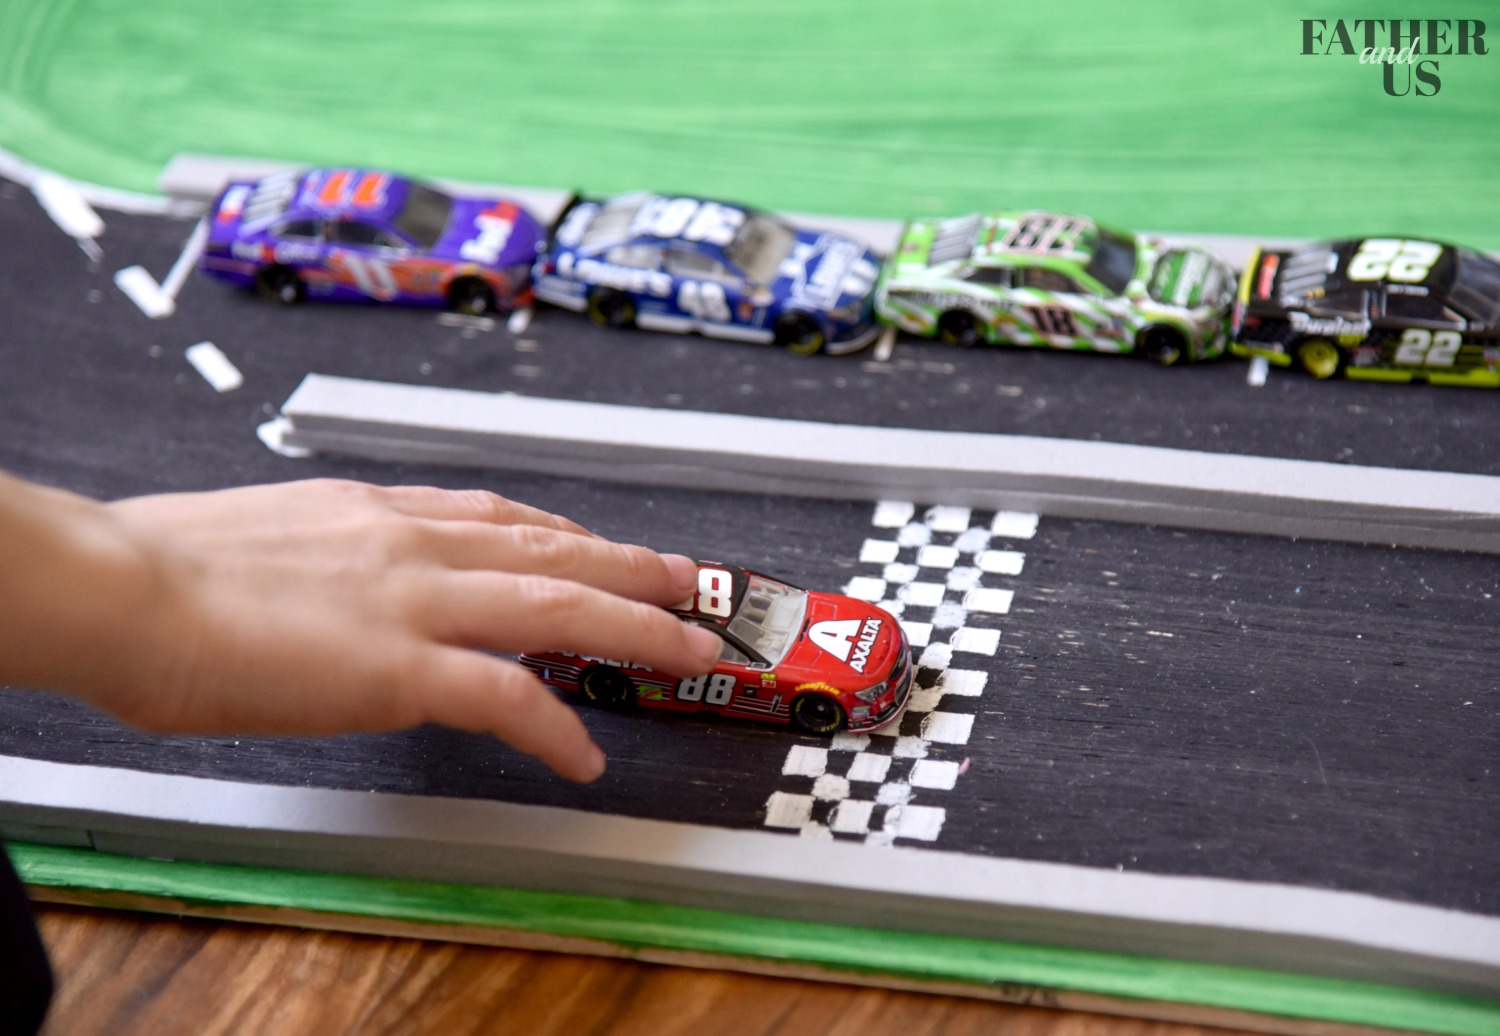
Next, we had to decide how to make a race track with this piece of wood. First, I took a pencil and drew the dimensions of the track. I was able to get a smooth, even curve of the turns by using some kite string (any string will work) and pinning it to the middle of the board. Keeping the string taunt, I traced a half circle at each end of the board to make the outside of each turn. I did the same thing for the inside of the track. After that, I just used a straight edge to make the straightaways on each side. Don’t worry about making mistakes when marking your lines, you will be painting over it anyways.

Once you have the outlines for your track. It is time to paint. We used Crayola Tempera Paint. It is easy to use and washable (so, great to let your kids help!). I painted the track black and the outside of the track green. We used white paint to for the inside lines and for pit road.
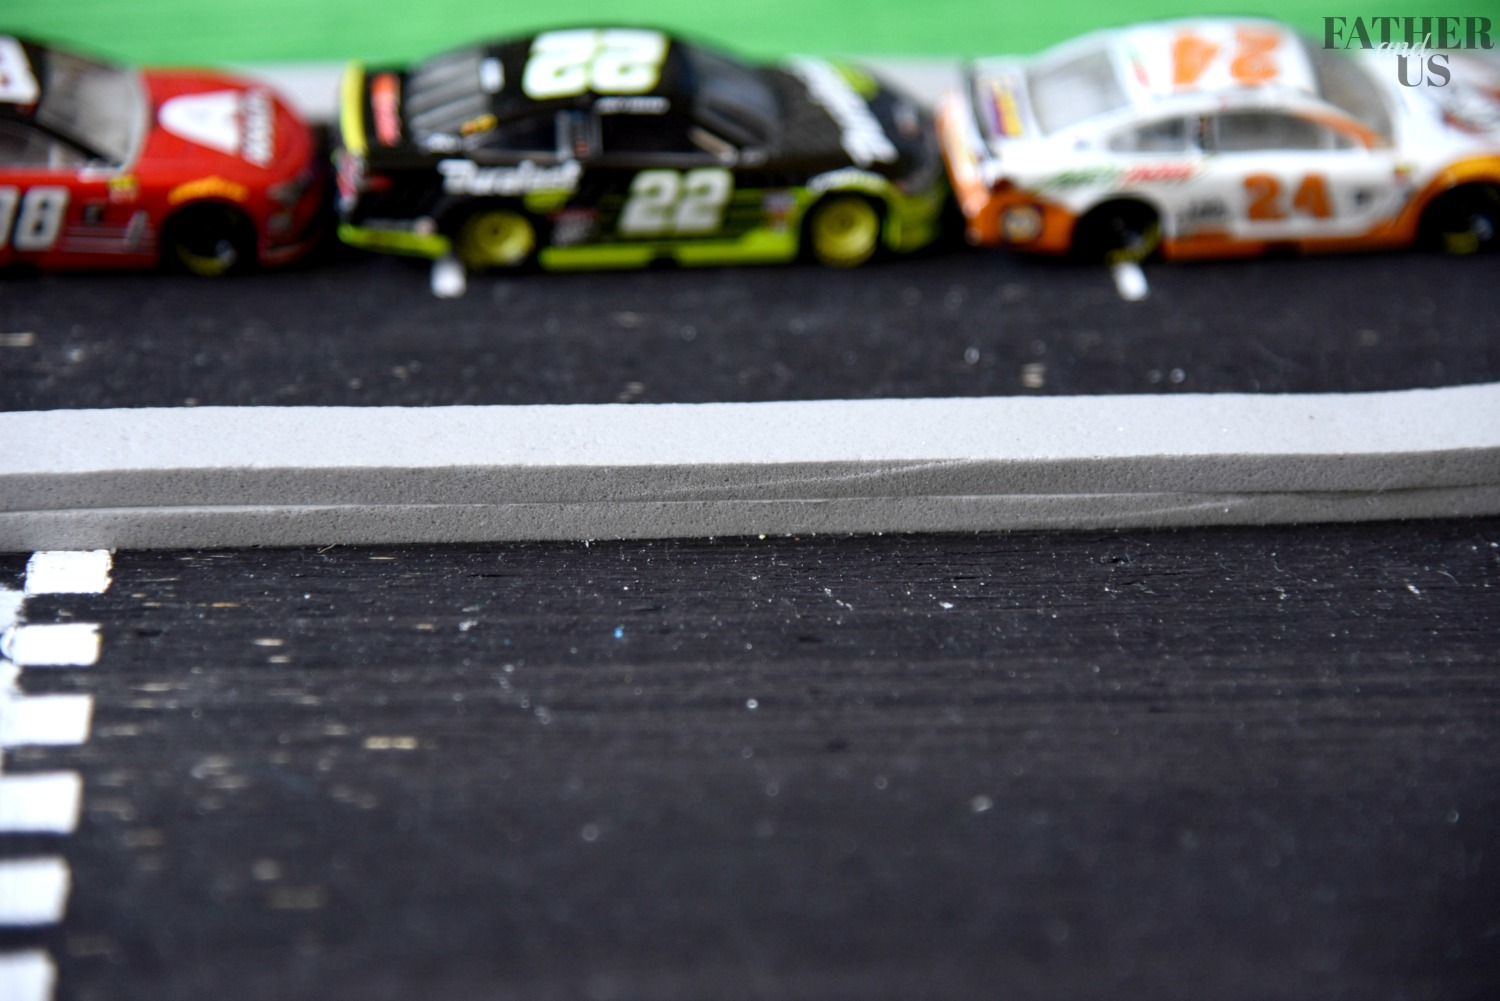
One challenge that we had was deciding what material to use for the outside walls. We found that foam window insulation tape works PERFECTLY. It is very sticky and adheres well to the painted wood and it is pliable enough to go around the turns smoothly.
Now, you can really decorate it however you want to. My son definitely wants to do more with our infield and our pit road. He wants to build a pagoda and some shacks for the pit crews. But, even as it is, he is having hours of fun with this race track. He has even gotten into making stop motion films. I will also write a blog post about our adventures with that soon!
Pin for Later-
I love this article and I have hopes of one day to create the same race track that you and your son made!
That is great to hear! Have fun!
Great idea! Thanks so much! My son loves nascar and race cars. We are going to home depot tomorrow to get started on our own track!
When it come to gluing cardboard, use wood glue.
super ! to start, greetings from France! your site is just great full of advice for creating I find it great in addition it develops the agreement between father and son