How To Make A Stop-Motion NASCAR Races
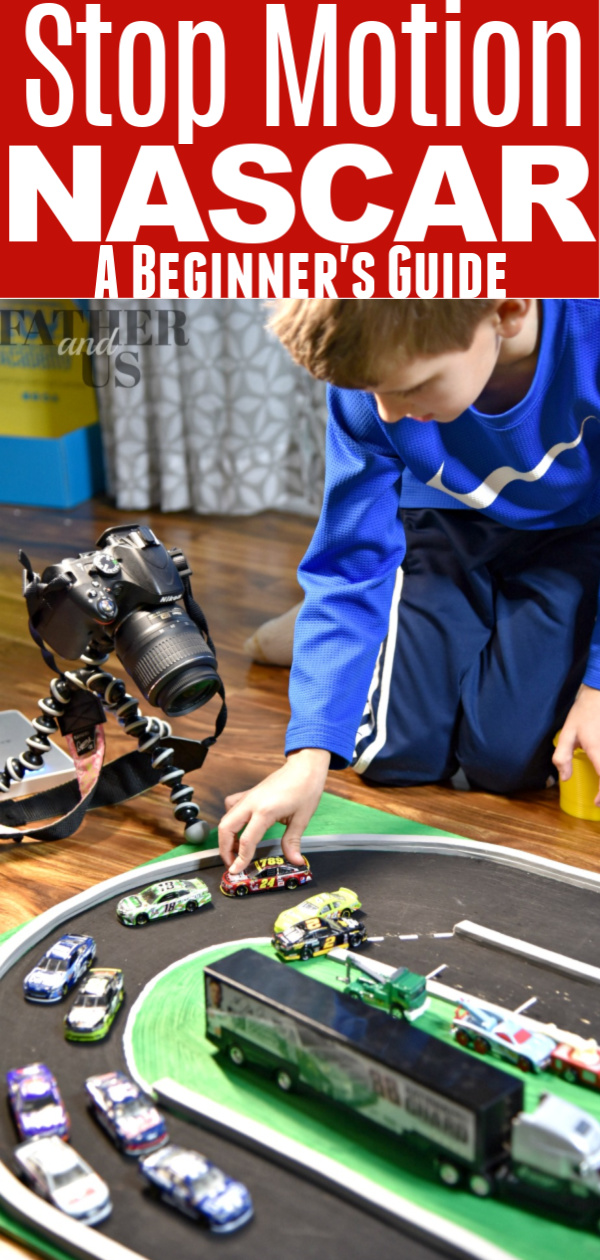
My son and I have been working on how to make NASCAR stop motion races. We’ve found some fun tips and tricks that I’d love to share with you.
I am not sure how it happened, but my son somehow turned into a huge NASCAR fan. He knows all the drivers, the make of their cars, their numbers and their sponsors. On the weekends, it seems the television is constantly on in the background with NASCAR practices and qualifications on Saturday and then the big race on Sunday. I have started to get into the action as well and NASCAR has inserted itself into our family dynamic.
A couple months ago, my son also started watching NASCAR stop motion videos on YouTube. It seems that people are taking the diecast 1:64 NASCARs, building a racetrack and creating races to post on YouTube. This never would have occurred to me to do. So when Jonah came to me and asked if we could try to make our own stop motion video, I was pretty unsure at first. But, we decided to dive in head first and find out how to do this. Below, I have listed a simple guide that we have found to make our stop motion NASCAR videos.
How to Make NASCAR Stop Motion Races: Equipment Needed
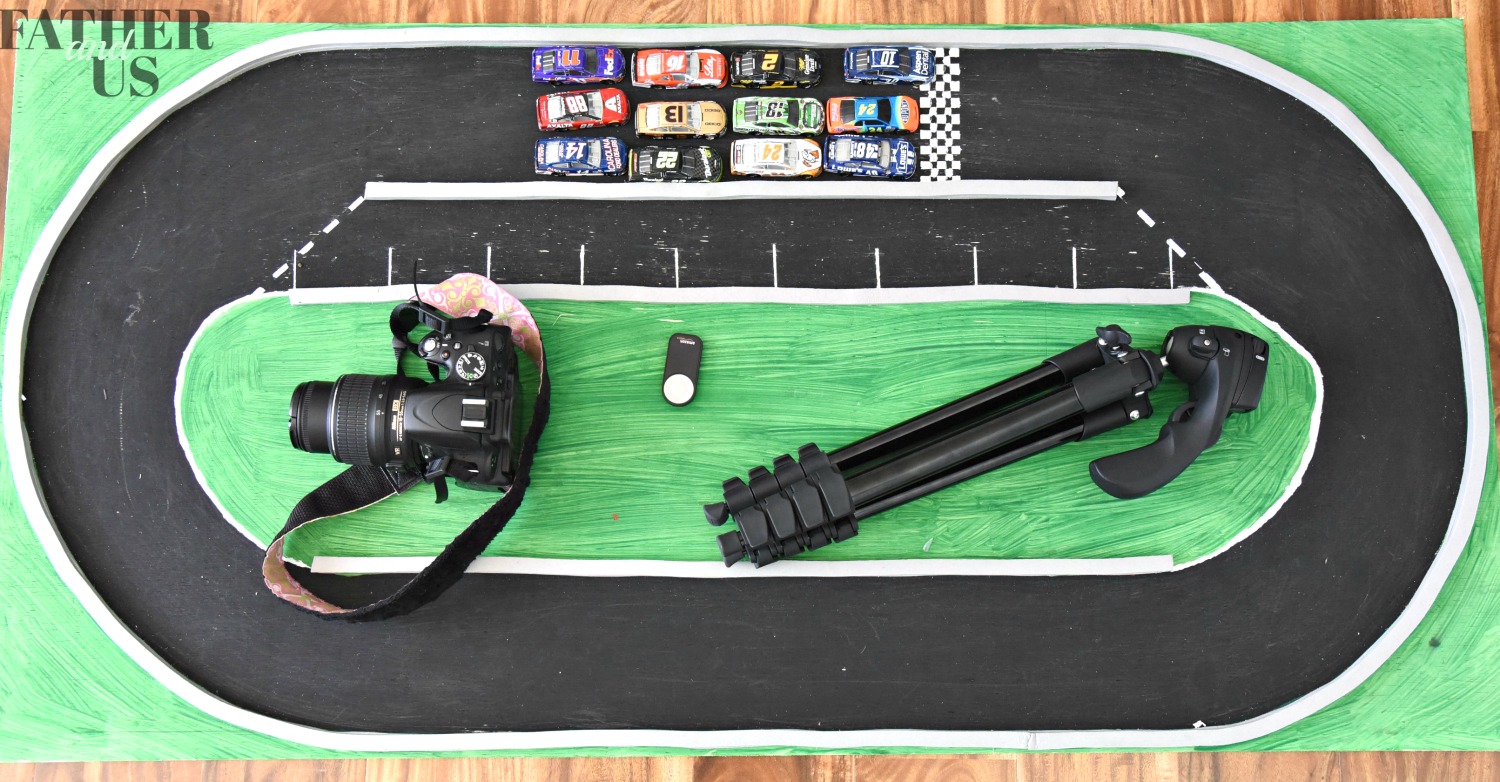
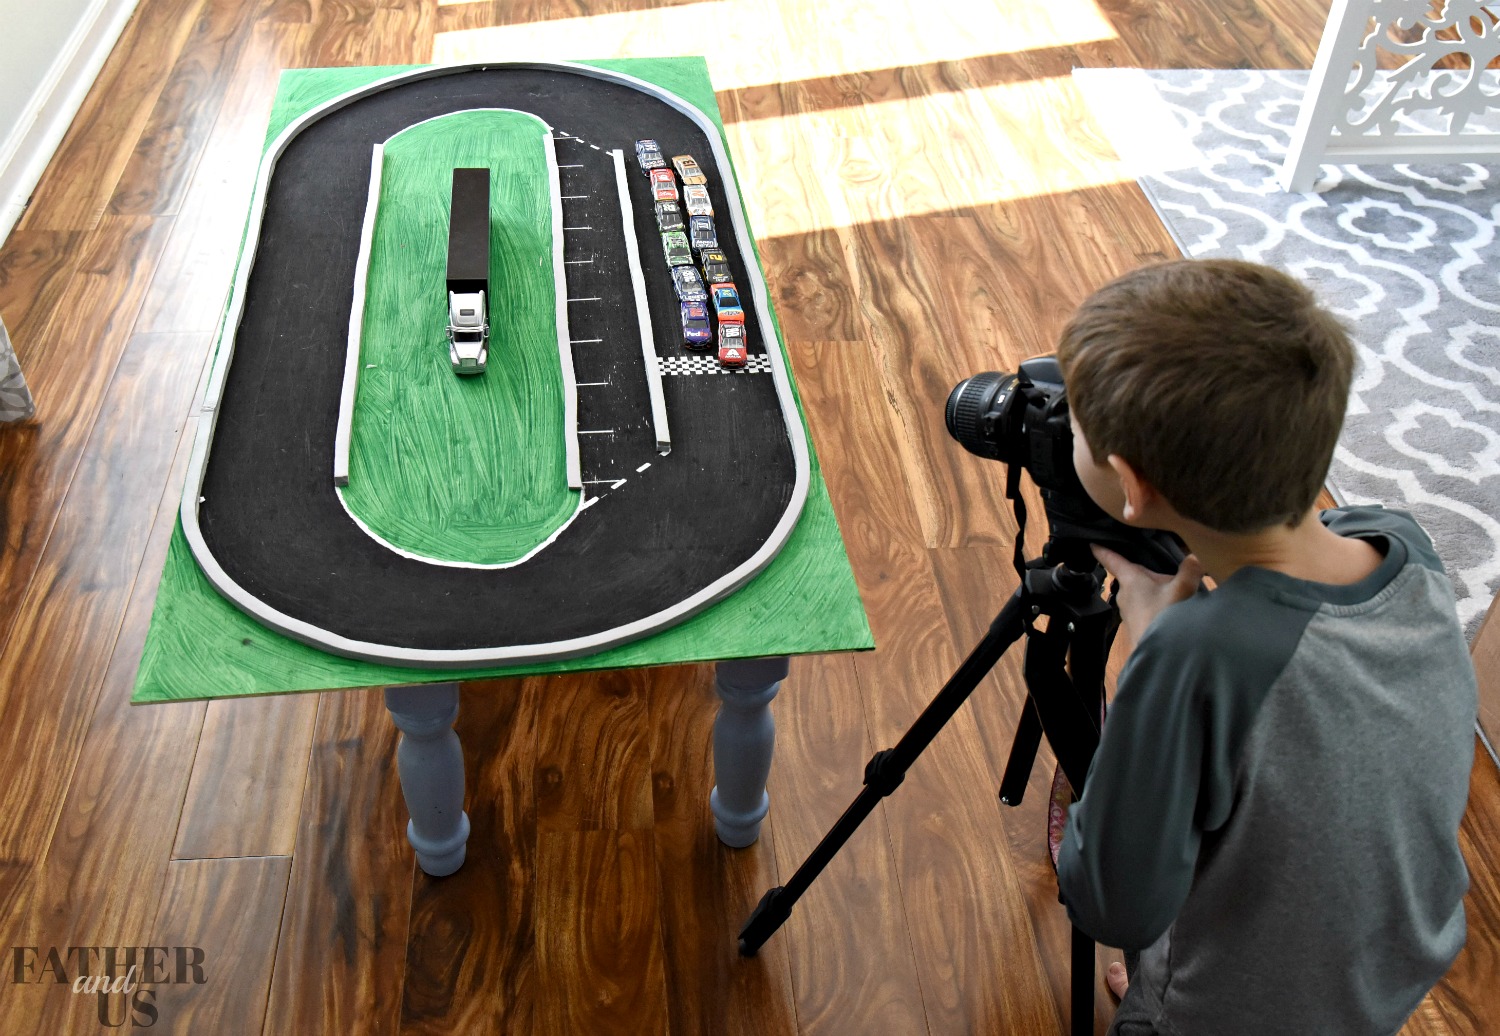
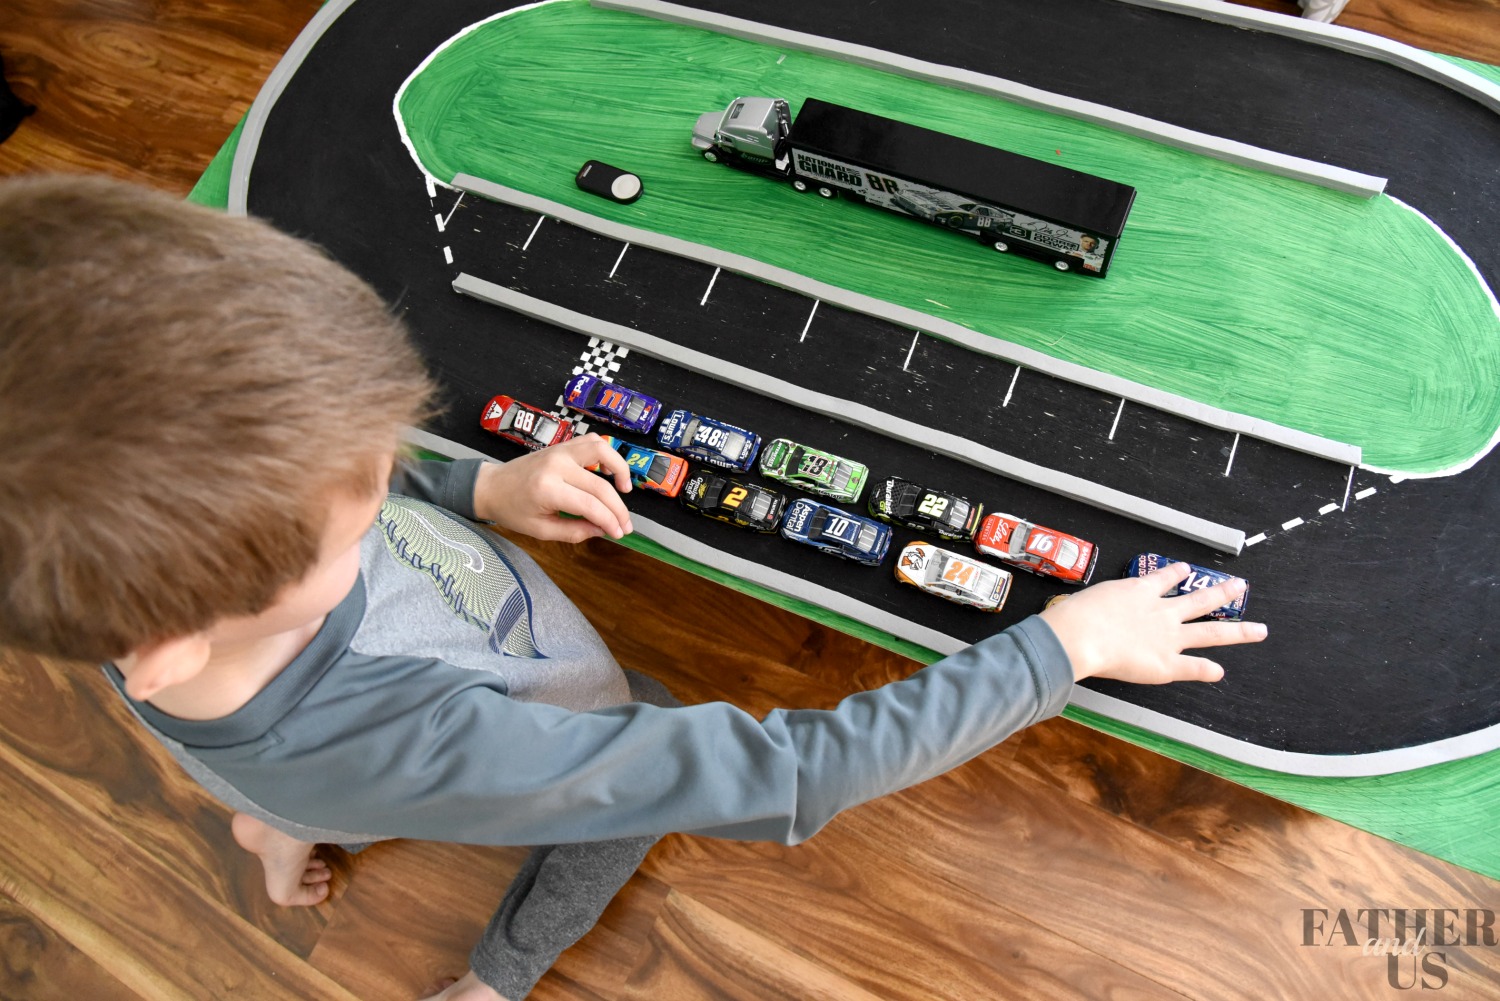
- BUILD YOUR OWN TRACK: The first thing I was worried about was making the track. I had no idea where to start. But I did a little research online and we were able to make our very own NASCAR race track from scratch. The whole thing probably cost $20 to build and only took us a couple hours. I am pretty proud about how it turned out.
- GET SOME RACE CARS: The next thing that any race needs is: race cars! My son has slowly been adding to his collection for a while now and had about 6 of them. They are pretty easy to find at any department store but, of course, Amazon makes things pretty easy as well and we can often find them cheaper on there
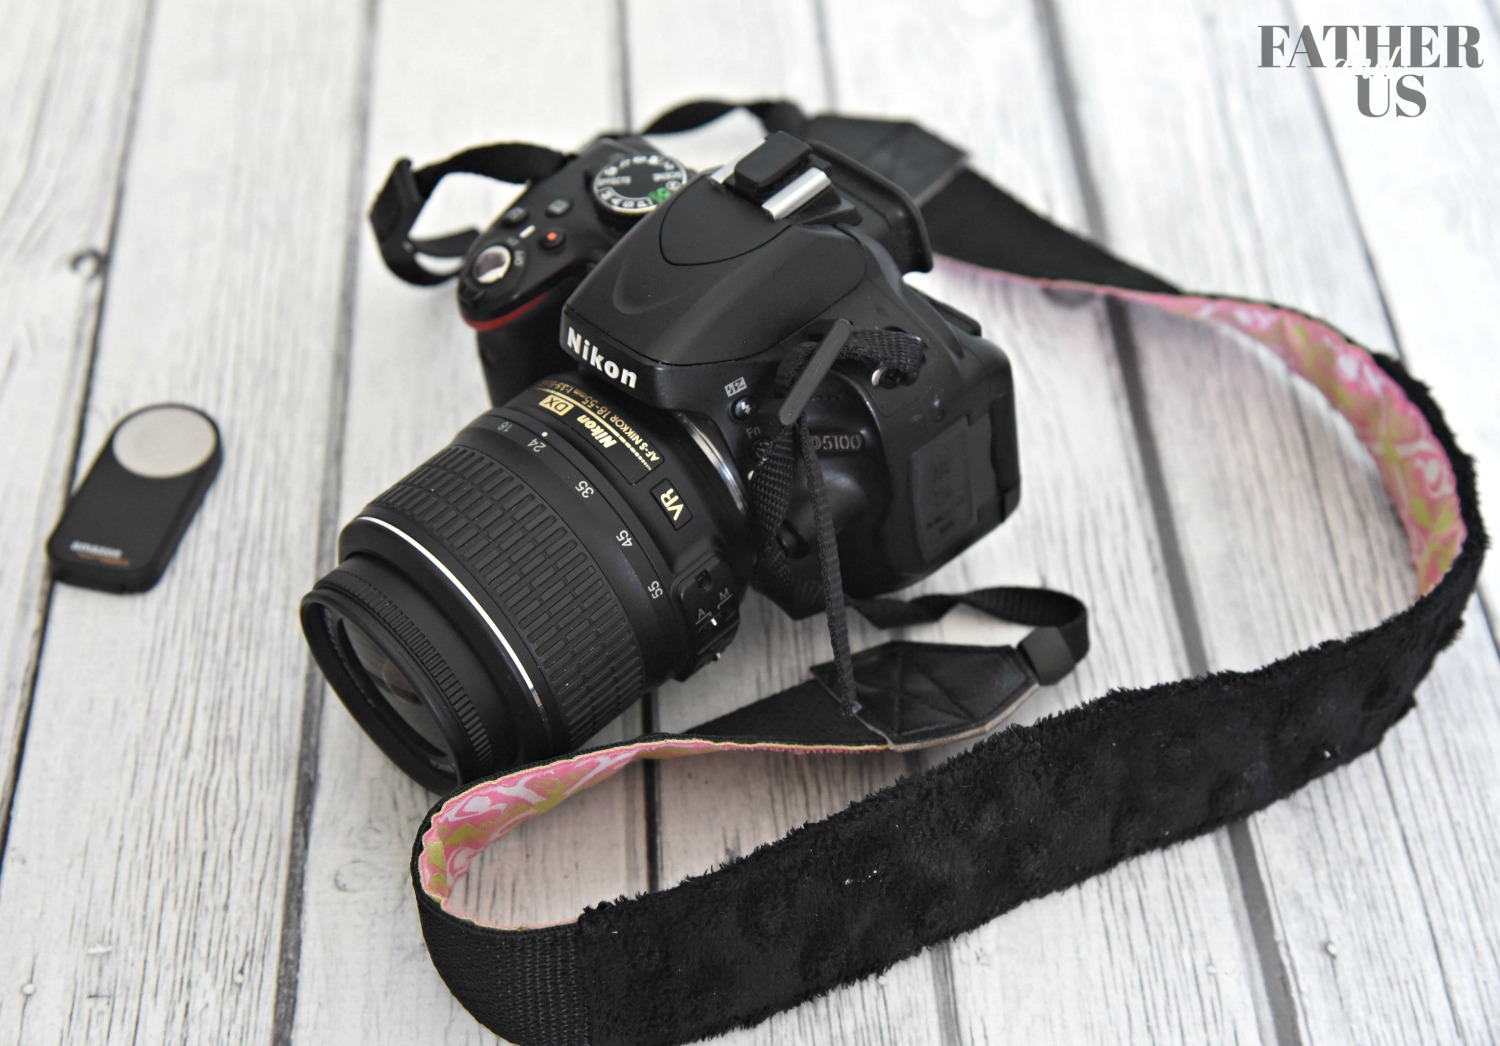
- CAMERA: The third thing we needed was a camera. I believe you can find people online that make these videos with their smart phone, but I would suggest using a high quality camera for this endeavor.
- TRIPOD or CAMERA STAND: You will also need a tripod or stand to put the camera on. Keeping the camera steady is paramount in making stop motion videos. Any small movement between pics (like the movement that is inevitable when you press the button on the camera)
How To Make NASCAR Stop Motion Races:-How To Film
There isn’t much too filming the actual race. We usually move the cars about 1/2 of an inch per photo taken. But it really will all come down to the scale of your track and how fast you want them to appear to move in your movie.
One thing to be VERY aware of is lighting. We have made the mistake of filming using natural sunlight on a “partly cloudy” day. This meant that the light in each photo was drastically changing and it made for a very choppy effect. Another problem we ran into was keeping the cars we want in focus. As the cars move across the frame, the camera may focus on different things. So my son makes sure to look through the view finder often to make sure the focus is where it needs to be. We can carefully refocus as needed without moving the camera.
Don’t be afraid to change and try out new camera angles. You will find some angles that really bring you into the action after some editing.
How to Make NASCAR Stop Motion Races-Film Editing
Ok, so now you have a WHOLE BUNCH of photos in your camera, right? How to you make them into a movie? This was one of my biggest questions. It turns out, it is SUPER easy. I use a laptop with Windows operating software, so the film editing tool I use is Windows Movie Maker. It is free to install and I think it works great for what we need it for. Obviously, if you are using a Macintosh, you will be using iMovie. This tutorial will be for Windows Movie Maker.
After you upload all of your photos into your computer, open Windows Movie Maker. Once the application is open, you will see the button “add videos and photos”. Just use this to add all your photos and they will automatically populate into your movie. Once you have all the photos lined up, the easiest way to make them into a motion picture is to just edit to amount of time the picture appears on the “slide show”. It defaults to seven seconds between pictures. This, obviously would be a very SLOW race. I have found that a good speed is between .07 and .11 seconds between photos. With just a simple function, there is a lot you can do with this to make the race fun. You can hold on pictures for several seconds to introduce the cars. You can extend the photo timing a bit to make a “slow motion” effect. Again, it is best to just experiment a bit and see what works for you.
Once you have the movie photos edited how you like them, you can use the “record narration” button to record commentary during the race. This is an important step that will really make your race a lot of fun. My son is FANTASTIC at this and always narrates the race with such passion and excitement.
We are still working on our method and I am largely letting my 8-year-old son do this on his own. I found he will learn best this way. So, our results are still a bit hit and miss. But both he and I are having a blast with this. I love watching him problem solve and use his imagination.
Try this out at home and see what works for you. Good luck!
Pin For Later:

a big thank you for all advice ! znd congratulation at your children amazing your talent